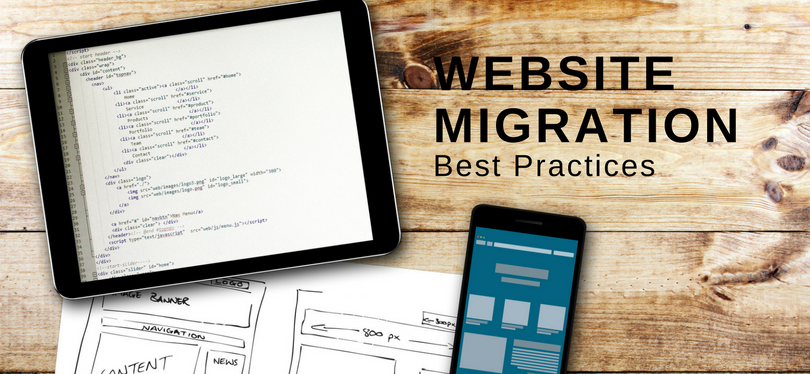
How to Migrate Website Hosting Without Downtime 2022-
How to Migrate Server Without Downtime 2022-, How to migrate website from one server to another
Need call or mail for migration support. Free- please call or mail at our [email protected]
___________________________________________________________________________________________________
How do I migrate a website from one server to another server without losing any kind of data?
In this article, we’ll show you how to transfer your site from one web host to another without downtime
What is a Migration?
When we say “server migration” we mean copying or moving critical data from one server to another, and configuring that target server to replace the first. Server migrations in the web hosting world can involve setting up web server and database software, copying over websites and their configurations, and changing the DNS to direct visitors to that new server.
There are many reasons why you would want to migrate your website to another provider. Your current web host might not be offering you all of the services that you need, or you might be paying more than you should.
Moving your website can be stressful, especially if you cannot afford to be offline for a certain period of time. The biggest delay is normally getting your website’s DNS registration migrated over to your new provider, which can take a while, depending on when you begin the process.
These tips are relatively easy to implement as long as the site’s administrator has a general understanding of cPanel, IP addresses, and more advanced FTP login routines that will enable them to work on a new web hosting plan configuration before DNS is altered and transferred to the new host.
When Do You Need it and Why?
Moving from one web hosting company to another may not always be as simple as you think. As with anything tech related, there is a chance your website may break. Because of this, most of us will seldom migrate unless there’s a good reason to.
For example:
Slow servers – You’ve done all you can to optimize your site for performance. At the end of the day, part of the responsibility lies on the quality of the equipment it’s on. One indicator of this lies in the Time-to-First-Byte of your site.
Low reliability – If you find that your site suffers frequent service outages or otherwise erratic behaviour, it may be time to consider a move. This performance profile will contribute towards traffic loss for your site and possibly reputational damage as well.
Scalability – Not all web hosts have clear migration paths for web hosting plans. Sometimes you may simply find that you’re left with no new plan to upgrade to. If that’s the case for you, it might be time to start hunting for a new hosting partner.
Poor Customer Service: While performance issues may be fixed, attitudes are a bit more difficult. Not all web hosts treat their customers well and if you find you’re getting sub-par service, simply take your money elsewhere.
1. Backup all the data from your current host server with the help of cPanel/Plesk control panel depending upon the platform of your hosting. It is recommended to make multiple copies of backup and have them stored at different locations for safer side.
How Can I Move My Website to a New Host?
2. Go to LIVEMNC DATA CENTER website page and order a hosting plan suiting your needs.
3. Following activation of your hosting account, start uploading the backed up data to our server by FTP (File Transfer Protocol) or File Manager. VPS and Dedicated server users can consider ssh to serve the purpose.
4. Once done, grab the name servers from Welcome Email and assign them to your domain from the registrar or registration service provider’s end.
5. Lower the TTL (Time To Leave) value at your current host server and our server. This will ensure zero or no downtime to your site.
6. Furthermore, once your site starts resolving from our server after propagation all over the internet, go ahead and close down your account at the previous host.ur computer that will store your website files.
1. Move Data First, Cancel Your current host plan Later-
Do not cancel an existing web hosting plan before the move is complete.
While it’s certainly a good idea to inform your old web host in a timely manner about future changes, doing so before the transition has been expertly executed can result in not just downtime, but a complete loss of files and database information from the moment a cancellation is requested.
2. Download your all Backup Files-
Login to cPanel and obtain compressed backups of website files and database information.
Locate the Backup Page
After logging into your cPanel interface, locate “Backup.” This contains tools to backup your site’s main “public_html” folder as well as any subdomains. Additionally, here tools are available to backup MySQL databases for restoration to the new hosting provider.
Find the “Download Backups” option within this grouping, and click through to the relevant cPanel administration page.
Downloading Backups
cPanel will breaks down the available backup by types. A full-site backup and backup files specific to every subdomain within the website. The subdomain backups are generally optional since the full website backup will contain all of that information.
Customers can also secure a compressed backup of every MySQL database individually. Each database should be downloaded in its compressed format. These will be uploaded to the new server to create matching database names at a later time.
Do not Decompress!
During the download process, be sure not to decompress any of the downloaded backup files. This will be completed by the new server when the file is uploaded to the new host.
For Mac OS X users, ensure that Safari is not set to automatically open so-called “safe” file extensions after download. Doing so will ensure that the file remains uncompressed and ready for quick restoration. When all of the compressed backup files are secured, log out of the old host cPanel installation and head over to the new host’s version of the popular website administration software.
3. Performing the Transfer-
Once you have collected all the data files from your current website and have a secure backup, you can start transferring this to the new Host. You can now upload the compressed website files and information from your old server to the server of your new hosts.
4. Test your New Website on New Server-
Once you have successfully gathered, compressed, and transferred all the information and data from your old server to the newly selected server; you get an exactly mirrored website with a temporary URL that is ready for a first-hand check.
When checking the functionality of your website at this stage, make sure that it is working and functioning exactly as per your requirement and satisfies you perfectly well.
Make sure that all the data, images, links, accounts appear exactly the way they are supposed to and function the way they have to. Scan for any possible flaws, problems, or issues right at this stage and get them sorted first-hand to avoid unnecessary to and fro and any kind of complications at a later stage.
5. Use the New Domain Name servers-
Once you’ve completed all of the steps mentioned above, it’s time to switch to new name servers. This is the final step in the migration process where you need to inform the domain registrar that you’ll be using the new domain nameservers and view the files and data on the other server.
Example – NS2.LIVEMNC.COM
NS2.LIVEMNC.COM
Once you have ensured that your website is functioning properly and all the issues are addressed to, you can now conveniently cancel your hosting plan with your previous host server. Though it is unavoidable, trying to achieve a zero-downtime on your website throughout this website is the major indicator of a successful transfer of a website from one server to another.
________________________________________________________________________________________________________
About our company-

Top 5 Best Data Center Companies in India of 2022
Best 5 Indian Data Center Company, Top 5 data centers in india
LiveMNC is one of the top data center in India , best data center company.It takes the place of a leader in the field of corporate business
LIVEMNC, is one of India’s leading data center providers.
From Small colocation requirements to Enterprise level demands, we cater to them all! LIVEMNC is an award-winning & India’s most trusted Tier III Data Center Providers. 100% Server Uptime. 100% Network Uptime. Best Price Gaurantee.
LIVEMNC in Mumbai is India’s largest data centre, and the company will be building other large data centres in Mumbai and Delhi.
For business users of cloud server India, enterprise resource planning (ERP) or SAP, collaboration, and analytics are expected to be the top growth areas for cloud.
Leave A Comment